Table of Contents
- First time setting
- Accessing data on
/projector/scratch/pgfs - Uploading Files
- Downloading Files
- Troubleshooting: rebuilding the environment from scratch
First time setting
- Go to https://jupyter.rc.princeton.edu
- You will need authenticate with your Princeton
netidand password.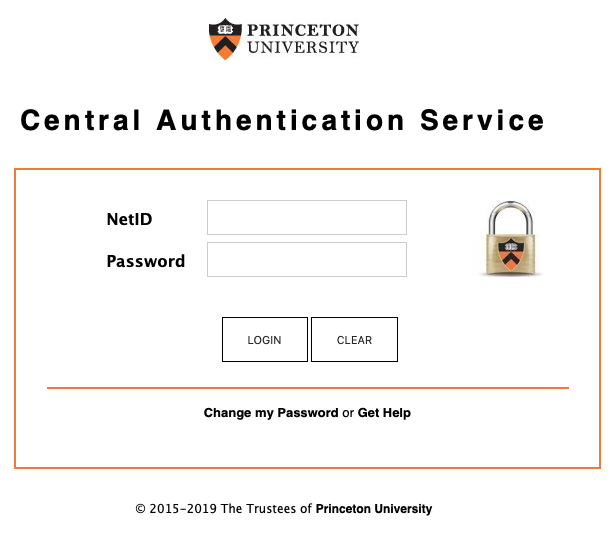
- In
Spawner optionsselectAnaconda3 2019.07 in home directory - Climate Modeling. Note that the building the image the first time will take about 3 min. Afterthe first build it will be faster.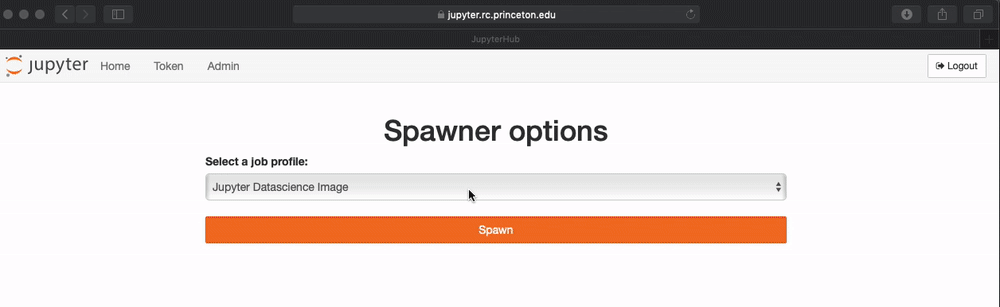
Accessing data on /project or /scratch/pgfs
-
The server
jupyter.rcis independent from the clustertigerbut has access to both/tigressand/scratch/gpfson tiger. For convenience, create some symbolic links in your home directory.You can do this by opening a terminal by clicking on
NewthenTerminal.$ ln -s /projects/GEOCLIM projects $ ln -s /tiger/scratch/gpfs/GEOCLIM gpfs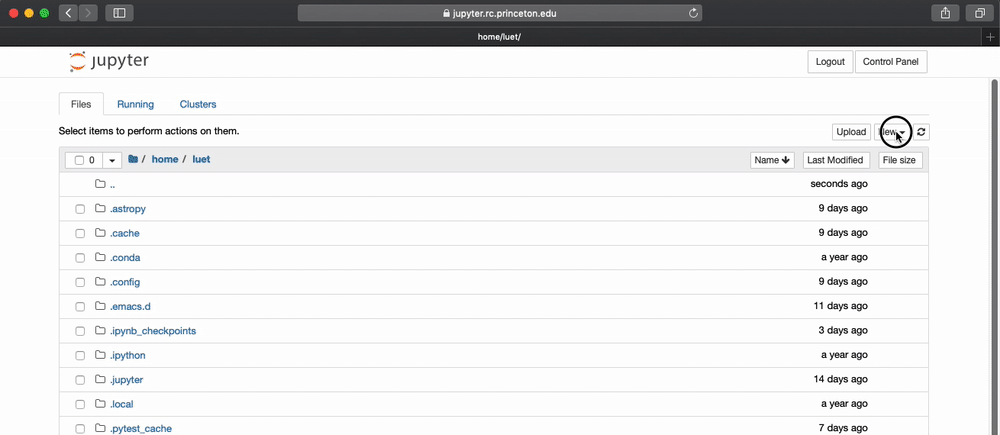
-
After this, the directories
projectsandgpfswill be in your home directory. You may need to refresh your browser to see them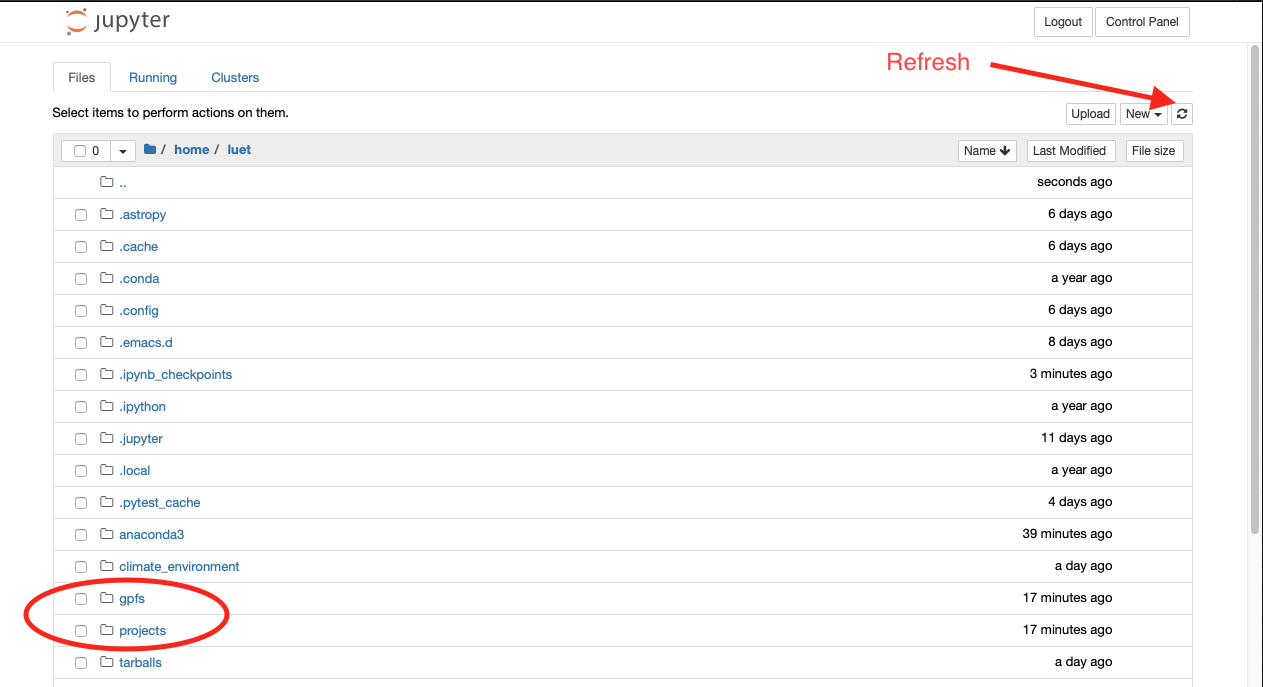
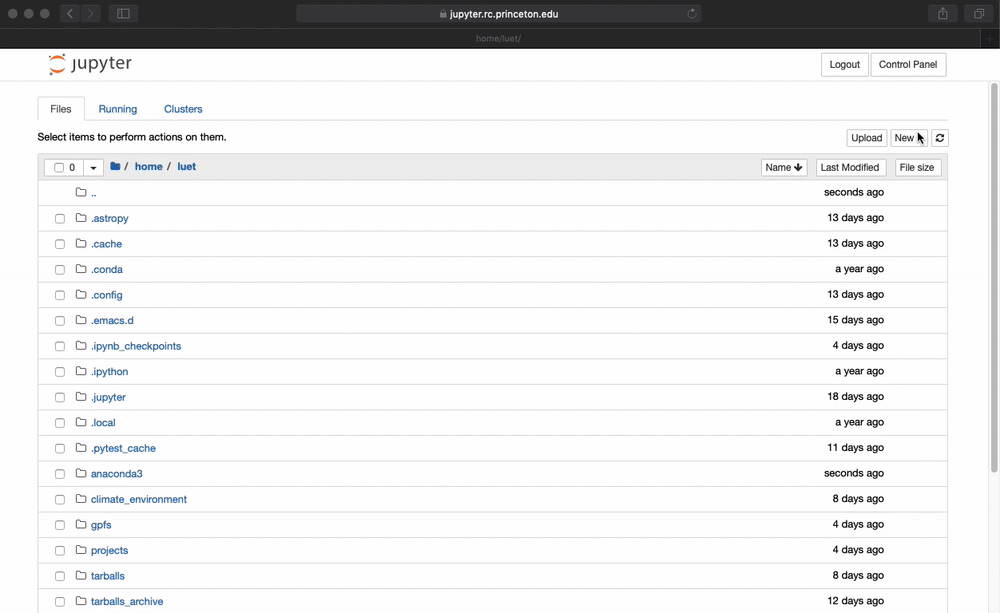
Uploading Files
To upload a file click Upload
Downloading Files
To download a file click the file and Download. The file will be
downloaded where your browser downloads files.
Troubleshooting: rebuilding the environment from scratch
If your Anaconda environment as been corrupted or you think something is not working properly. You can rebuilt your environment from scratch by following this procedure:
- from a running notebook on
jupyterhubopen aTerminal, -
remove your current
anaconda3directory with:rm -Rf $HOME/anaconda3 - log out,
- click
Stop My Server, - click
My Server, - rebuild the environment following the steps described in First time setting.